How to set up Gatsby with TypeScript

Introduction
Last year I started integrating TypeScript into all of my projects and workflows. It helped me write better and more predictable code, it is a JavaScript superset which extends the language to include type definitions allowing codebases to be statically checked for soundness.
Even if Gatsby framework provides an integrated experience out of the box, I found out that there was not enough documentation about their Config Files.
In this tutorial we will take a look on how to set up our Gatsby website and support it fully with Typescript.
Gatsby setup
First of all, you'll need to install the Gatsby CLI
Open your computer’s console/terminal and run the following command:
npm install -g gatsby-cliCreate a Gatsby gatsby-typescript-tutorial project by running the following command:
gatsby new gatsby-typescript-tutorialThis will take a few seconds to run as it sets up the necessary boilerplate files and folders for the Gatsby site. After it is finished, cd into the project’s directory:
cd gatsby-typescript-tutorialStart your Gatsby app with the following command in your terminal to make sure everything went ok.
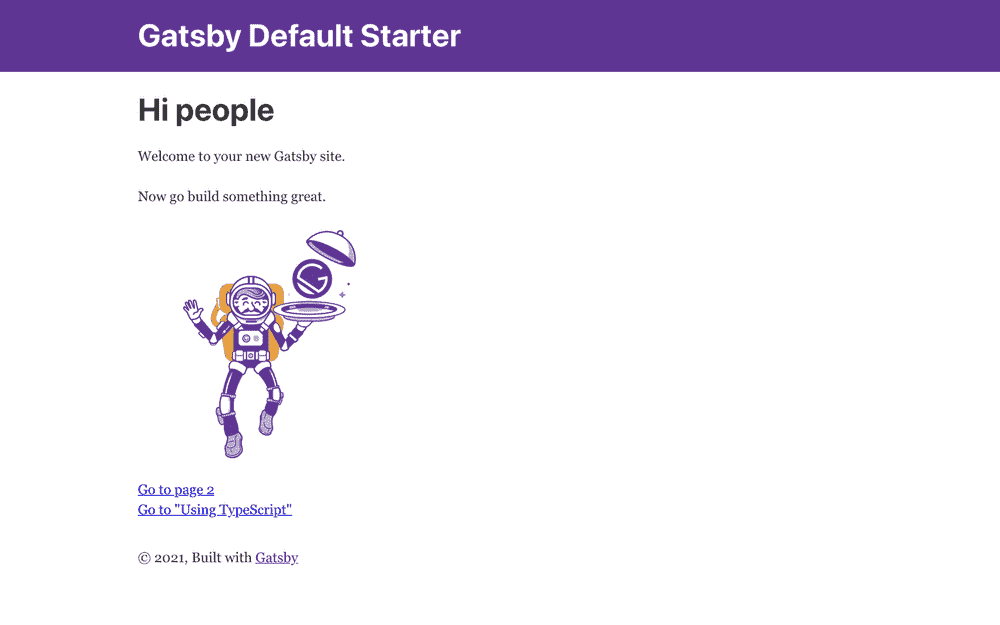
gatsby developAfter a few seconds, you will receive the following message in the console:
You can now view gatsby-starter-default in the browser.
⠀
  http://localhost:8000/
⠀
View GraphiQL, an in-browser IDE, to explore your site's data and schema
⠀
  http://localhost:8000/___graphql
⠀
Note that the development build is not optimized.
To create a production build, use gatsby build
you can open up a new tab in your browser and navigate to http://localhost:8000 to see the Gatsby app in action.

Next, you’ll remove all unnecessary files. This includes gatsby-node.js, gatsby-browser.js, and gatsby-ssr.js:
rm gatsby-node.js
rm gatsby-browser.js
rm gatsby-ssr.js
Next, to finish setup, you’re going to remove some boilerplate code from your project’s index page. In your project’s root directory, head to the src directory, followed by pages and then open the index.js file.
you can delete Link, h1, and p tags. Your file will then look like the following:
import * as React from "react";
import { StaticImage } from "gatsby-plugin-image";
import Layout from "../components/layout";
import Seo from "../components/seo";

const IndexPage = () => (
  <Layout>
    <Seo title="Home" />
    <StaticImage
      src="../images/gatsby-astronaut.png"
      width={300}
      quality={95}
      formats={["auto", "webp", "avif"]}
      alt="A Gatsby astronaut"
      style={{ marginBottom: `1.45rem` }}
    />
  </Layout>
);

export default IndexPage;
Save and close the file.
Now that you’ve created your project and completed some initial setup, you are ready to install the necessary packages.
Download TypeScript
TypeScript can be installed through three installation routes depending on how you intend to use it: an npm module, a NuGet package or a Visual Studio Extension.
TypeScript in Your Project
You will need a copy of Node.js as an environment to run the package. Then you use a dependency manager like npm, yarn or pnpm to download TypeScript into your project.
npm install -D typescriptGlobally Installing TypeScript
You can use npm to install TypeScript globally, this means that you can use the tsc command anywhere in your terminal.
To do this, run:
npm install -g typescriptInstalling other packages
In order to set up support for TypeScript in Gatsby, you’ll need some additional plugins and dependencies, which you will install in this step.
Since your app can read TypeScript files, you can now change Gatsby’s JavaScript files to a TypeScript file extension.
Rename any file inside of /src or /pages from .js to .tsx:
mv src/components/header.js src/components/header.tsx
mv src/components/layout.js src/components/layout.tsx
mv src/components/seo.js src/components/seo.tsx
mv src/pages/index.js src/pages/index.tsx
mv src/pages/page-2.js src/pages/page-2.tsx
mv src/pages/404.js src/pages/404.tsx
Its recommended to install types for react, react-dom, node and probably react-helmet. You can install them via npm:
npm install -D @types/react @types/react-dom @types/node @types/react-helmetAnd we also need to install ts-node:
npm install ts-nodeAdd tsconfig.json file
The tsconfig.json file has two primary purposes:
- Establishing the root directory of the TypeScript project
'include'. - Overriding the TypeScript compiler’s default configurations
'compilerOptions'.
Create a new file at the root of your directory 'gatsby-typescript-tutorial/' and name it tsconfig.json.
My tsconfig.json file looks like this:
{
  "compilerOptions": {
    "module": "commonjs",
    "target": "es6",
    "jsx": "preserve",
    "lib": ["dom", "es2015", "es2017"],
    "strict": true,
    "noEmit": true,
    "isolatedModules": true,
    "esModuleInterop": true,
    "skipLibCheck": true,
    "noUnusedLocals": true,
    "noUnusedParameters": true,
    "experimentalDecorators": true,
    "emitDecoratorMetadata": true,
    "resolveJsonModule": true,
    "removeComments": false
  },
  "include": ["./src/**/*"]
}
A TSConfig file in a directory indicates that the directory is the root of a TypeScript or JavaScript project. The TSConfig file can be either a
tsconfig.jsonorjsconfig.json, both have the same set of config variables.
This page covers all of the different options available inside a TSConfig file.
Save this file and close it when you are done.
Converting Gatsby Config to TypeScript
Remember the ts-node package we installed earlier? It’s a handy tool that helps JavaScript files understand TypeScript imports. register method is used to register ts-node only once and be available in subsequent JS/TS modules.
So, we only need to register it once somewhere up the stream like in gatsby-config.js, and it will enable us to import TypeScript modules subsequently. That means we can configure our gatsby-config only once, and abstract away all the good parts written in TypeScript.
Let’s open gatsby-config.js file and replace its content with this:
"use strict";

require("source-map-support").install();
require("ts-node").register();

module.exports = require("./gatsby-config.ts");- Source-map-support mimics node's stack trace making debugging easier.
- ts-node register helps importing and compiling TypeScript modules into JS.
The final step is to create the TypeScript version of the config file at the root of your directory 'gatsby-typescript-tutorial/' and name it gatsby-config.ts:
export default {
  siteMetadata: {
    title: `Gatsby Default Starter`,
    description: `Kick off your next, great Gatsby project with this default starter.`,
    author: `@gatsbyjs`,
    siteUrl: `https://gatsbystarterdefaultsource.gatsbyjs.io/`,
  },
  plugins: [
    `gatsby-plugin-react-helmet`,
    `gatsby-plugin-image`,
    {
      resolve: `gatsby-source-filesystem`,
      options: {
        name: `images`,
        path: `${__dirname}/src/images`,
      },
    },
    `gatsby-transformer-sharp`,
    `gatsby-plugin-sharp`,
    {
      resolve: `gatsby-plugin-manifest`,
      options: {
        name: `gatsby-starter-default`,
        short_name: `starter`,
        start_url: `/`,
        background_color: `#663399`,
        display: `minimal-ui`,
        icon: `src/images/gatsby-icon.png`,
      },
    },
  ],
};
Conclusion
Huge congrats, you successfully achieved 100% type-checked code. I hope this tutorial helps you use Gatsby & Typescript more effectively.
Thank you for your time!